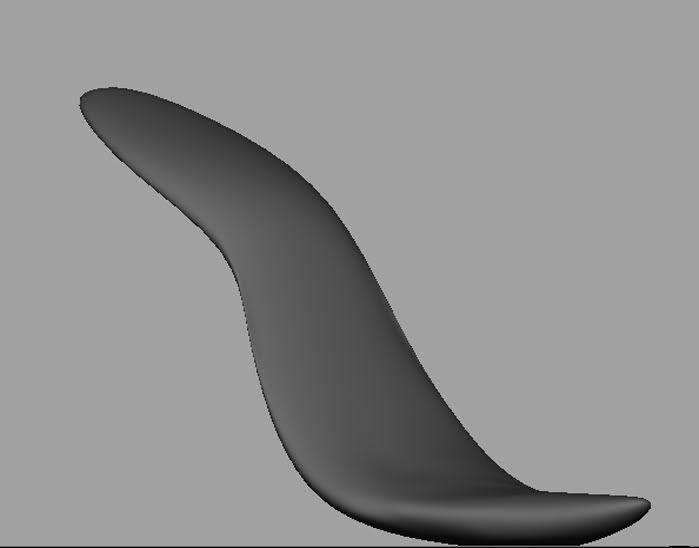
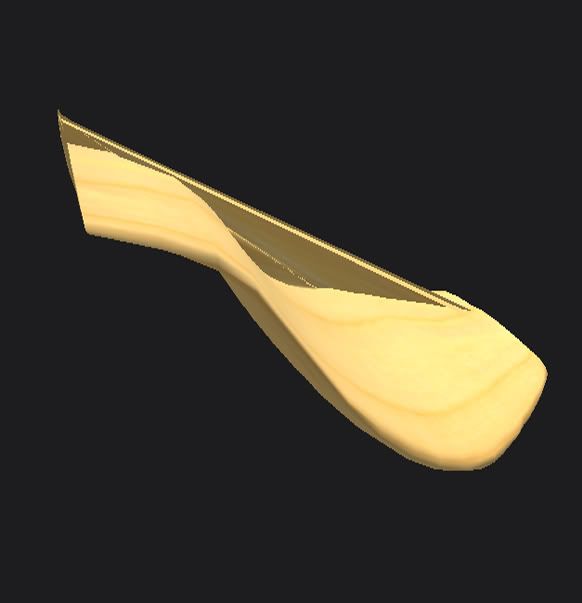
If I'm reading you right, what you're looking to do is convert a sphere into a hollow dome, with the bottom of the sphere being pushed upward to form the inner wall of the dome. There are many ways you could do that. Here is one:
1. Go into component mode (F

, and set your selection mask to include vertices. If you're not versed in Maya terminology, the selection mask is the collection of buttons toward the middle of the top toolbar in the main Maya window, beginning with the one that looks like a square and ending with the one that looks like a question mark. You'll see when you hover your mouse over those buttons, they say things like "Select point components", "Select parm point components", "Select line components", etc.
2. Grab the all the vertices in the sphere's south pole by drawing a selection box around it. Make sure not to select any vertices that are not part of the pole. And remember, even though the pole looks like just one vertex, it's actually many vertices, all occupying the same point in space. So never try to select a pole just by clicking on it. You must draw a selection box around it every time.
3. Move the south pole upward to some point close to the north pole. Leave whatever distance you'd like between the two poles, whatever thickness you want the "wall" of the dome to be.
4. Now in your selection mask, activate hulls selection. It's the button that looks like 4 small points connected by a thin looping line. When you turn it on, you'll see the vertices in your sphere are now connected by purple lines. Click on any one of the horizontal lines, and you'll select the entire corresponding row of vertices. Each row is called a hull.
5. Select the southern-most hull, and move it up toward its northern counterpart. Keep the distance between the two hulls the same as the distance between the two poles.
6. Repeat the process for all the remaining southern hulls. When you're done, you will have "deflated" the southern hemisphere completely, effectively turning the sphere into a dome.
7. If you want the rim of the dome to have sharp edges, move three hulls to each edge, and scale them appropriately. With NURBS modeling, it always takes three points to make a corner. Put all three in the same space, and the corner will be absolutely sharp. The more distance you leave between them, the more rounded the corner will be. In most cases, a small amount of round-over is desirable, as very few objects in RL have absolute sharp corners.
As I said, there are many, many ways to do what you asked about. The above just happens to be a simple one to explain. It's not the fastest way to work, though. For more speed, learn how to use deformers. You'll find them in the animation section of Maya. (Select sections via the pull-down menu at the upper left of the screen. By default, it's usually set either to Polygons or Surfaces.)
Deformers are very powerful modeling aids. The reason they are accessed from the animation section is simply because animation is what they were invented for. When you're watching an animated film, for example, and you see the character's eyes bulge for a second in excitement, and then return to normal size right afterwards, that's an example of sculpt deformers at work. Lip movements for speech are often done using wire deformers. Etc., etc., etc.
But animation is not the only function of deformers. As modeling tools, they can speed up your work by about 10,000 percent. It's well worth taking the time to learn how they work.
Sorry, but I can't really explain it all here. I'd need to write the equivalent of an entire textbook chapter, which obviously is not appropriate for a forum post. Consult the Maya help documentation to get started. If you have any specific questions along the way, feel free to ask. I can't explain the entire subject from start to finish here, but I can certainly answer singularly pointed questions.
So you know, the basic deformer work flow is:
1. Select the object you want to deform.
2. Apply a deformer to the object.
3. Edit the deformer to change the object's shape.
4. Make the changes permanent by deleting construction history. The deformer will disappear when the history is deleted.

