|
Drifter Dreamscape
Registered User
Join date: 30 Mar 2008
Posts: 182
|
12-16-2008 08:40
Need some texturing advice, now I've learned how to paste image links. ") I've worked my way through the sculpty creation with help from Domino, Gaia, and others and I'm now wrestling with applying textures in Blender. Following Gaia's ace Machinimatrix tutorials I've got through to the end of the multiple texturing process but the SL result just doesn't seem to have the same precision as the Blender image and I'd appreciate any advice as to where I'm going off track. (1)shows the work in progress in Blender and I'm quite happy with the appearance and detail of the texture on the component. The background images used were tga, 478 x 467 pixels at 78.74 pixels/cm and RGB - 8 bits/channel. 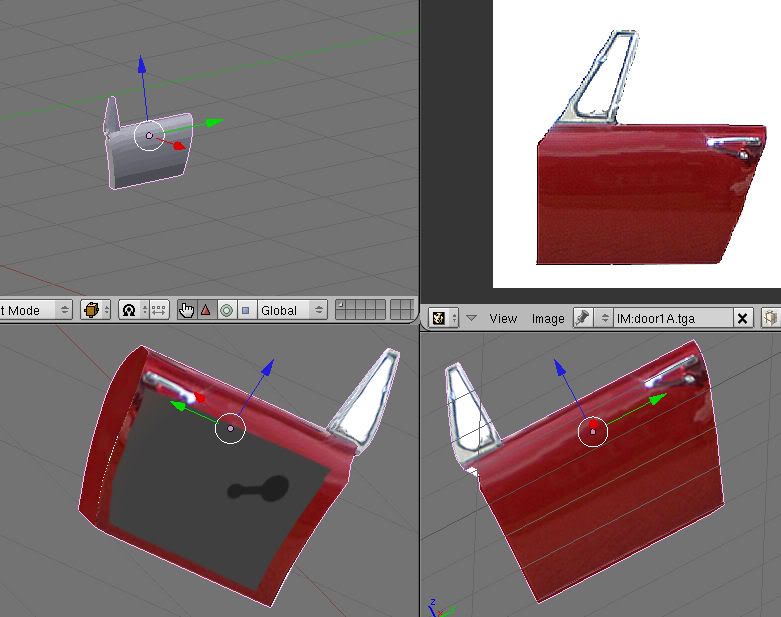 (2) is the combined image which I made at the suggested 2048 pixel resolution, again still looks sharp enough. The resulting file is png, 2048 x 2048 pixels at 78.74 p/cm and RGB - 8 b/ch 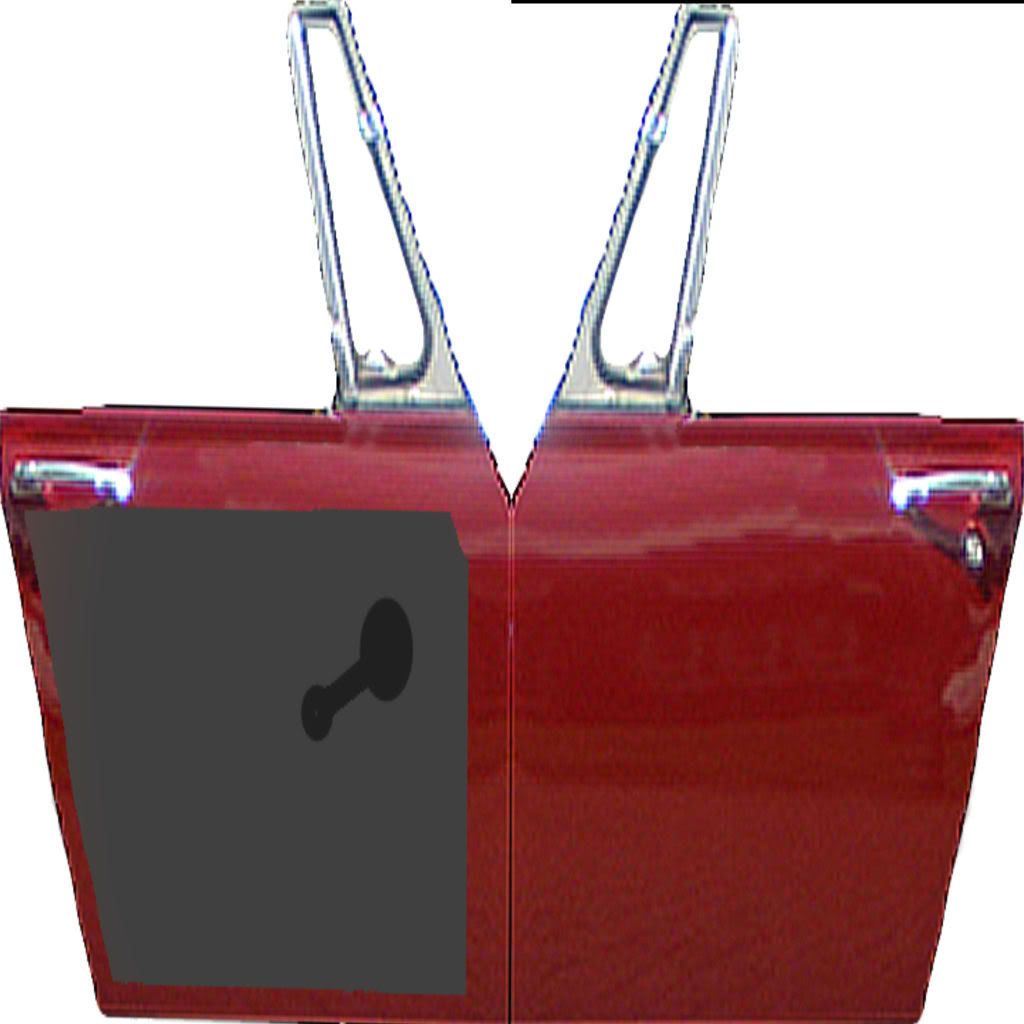 (3) is the texture only bake in Blender over which I seem to have no control on size. The resulting file is tga, 163 x 163 pixels at 78.74 p/cm and RGB - 8 b/ch. Although the image is distorted to fit the square sculpt map to me it looks as if the sharpness has gone, and the pixel size would confirm that. 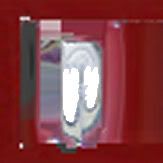 (4) is the resultant SL object and all of a sudden the precison/sharpness has gone. How can I upload to give the crisp textures I see on other in-world sculpts?  Thanks in advance for all advice. Drifter |
|
Kornscope Komachi
Transitional human

Join date: 30 Aug 2006
Posts: 1,041
|
12-16-2008 18:17
Hi mate.
It's really difficult to texture these things if the mesh is pulled too much out of it's natural alignment. What I mean is, stretching the squares of the mesh out of shape too much.
I really try to keep the mesh as it is by never scaling edges/vertices alone. Always I try to scale with the "Propotional Edit Falloff" ( the circle icon) turned on. This stretches more evenly, the squares of the mesh, pulling the surrounding mesh with it.
Anyway, I think thats the problem. The texture is getting stretched across fewer faces. There's no way to add more detail to the stretching. The pixels are limited to each square which relates to the UV layout.
Where texture detail is required, you should have more faces to gather the texture detail or the stretching is evident. Especially making edges which should be a couple of pixels wide become plenty more when stretched out like the wing windows.
Only way to fix that is to redo the mesh to gather more faces where you need more detail. Or, of course, use another prim, which on the door is not the option.
Hope this is clear enough for you, and any other that pops in. I doubt it.
_____________________
SCOPE Homes, Bangu
-----------------------------------------------------------------
|
|
Drifter Dreamscape
Registered User
Join date: 30 Mar 2008
Posts: 182
|
12-17-2008 11:04
Thanks for observations, Kornscope. I'm not sure whether the problems is the distortion as you suggest - the unwrap was a 'project from face' process where the vertices selected didn't differ very much from the image used as the basis of the texture map so there wasn't a great deal of vertex moving in the UV map window - mainly scaling and then few tweaks. The main culprit, I was thinking, is the fact that while the tga's were all reasonable resolution, when I did the texture only bake it came out at 163 x 163 pixels, which is way below SL's accepted 512 x 512 resolution. I don't know if it's something I did in the process that caused the low pixel count or if it's a totally internal process for which I can't adjust the outcome resolution. Need a new brain for Xmas! |
|
Kornscope Komachi
Transitional human
Join date: 30 Aug 2006
Posts: 1,041
|
12-17-2008 15:16
I didn't mean moving verts in the UV window. You don't have to do that mostly. The mesh itself. It has to be moved, but keeping all the faces of the whole mesh even throughout the stretching.
You are creating a new UVTex below the sculpie in mesh panel (F9)? Click the UV Texture > New button. Don't use the sculptie UV to make textures. Or re-import the scupt map to texture separately.
You create a new image for the new UVTex at 512 or 1024 in the UV Image editor so the mesh has something to bake to?
Someone else better explain. I'm trying but hopeles.
_____________________
SCOPE Homes, Bangu
-----------------------------------------------------------------
|
|
Drifter Dreamscape
Registered User
Join date: 30 Mar 2008
Posts: 182
|
12-17-2008 16:37
From: Kornscope Komachi I didn't mean moving verts in the UV window. You don't have to do that mostly. The mesh itself. It has to be moved, but keeping all the faces of the whole mesh even throughout the stretching.
You are creating a new UVTex below the sculpie in mesh panel (F9)? Click the UV Texture > New button. Don't use the sculptie UV to make textures. Or re-import the scupt map to texture separately.
You create a new image for the new UVTex at 512 or 1024 in the UV Image editor so the mesh has something to bake to?
Someone else better explain. I'm trying but hopeles. For an Oz you're doing just fine  I understand your points. I'm using a new UVtex and the result of that is visible in the bottom right of the first image I posted. http://i723.photobucket.com/albums/ww234/DD_SL/blender1.jpg - apologies for repeating link. It's just the bake process itself which resulted in the 163 x 163 image where I think the sharpness got lost. |